Inserting Pictures into Content
The RecDesk Html Editor allows you to insert images directly into your Announcements or regular Text/Html Content pages.
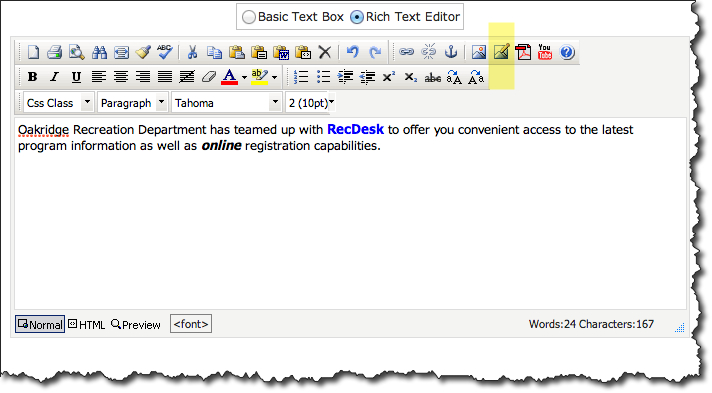
1. Edit the page content or individual Announcement Post to so that the HTML Editor appears as shown below. Make sure the Rich Text Editor option button is selected. Click on the highlighted Insert Image (highlighted in yellow below).
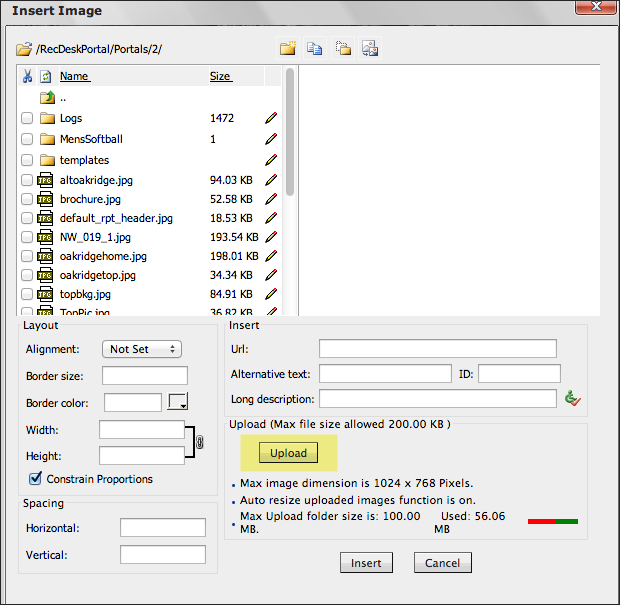
2. This will display the Insert Image dialog. To select an image from your local hard drive, click on the Upload button (highlighted in yellow below).
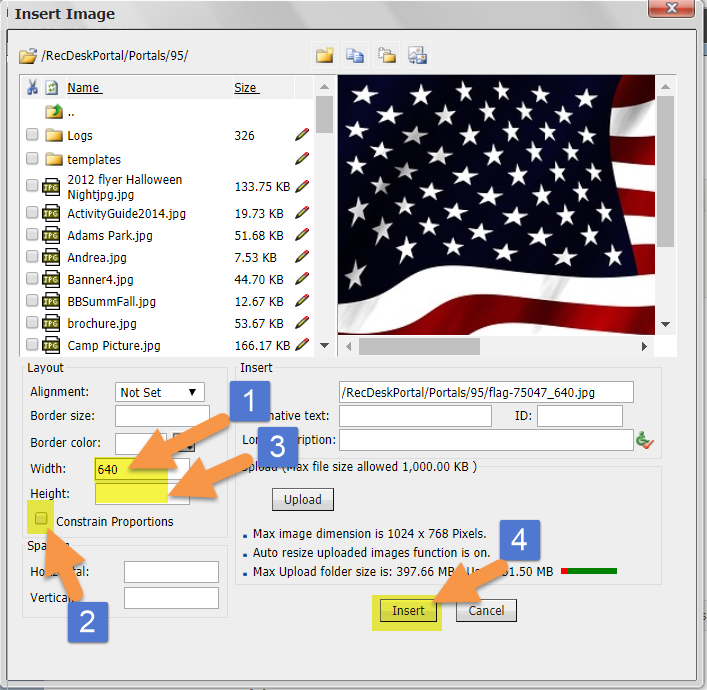
3. Once you have selected the appropriate image file, it will be uploaded and displayed in the upper right-hand pane of the dialog. If the Width is greater than 300px, we recommend that you follow these steps to ensure that your picture renders properly on smaller devices - Step 1: Change the width down by 1 digit (ie change 641 to 640). Step 2: Uncheck Constrain Proportions. Step 3: Remove the Height. Step 4: Click the Insert button (see below).
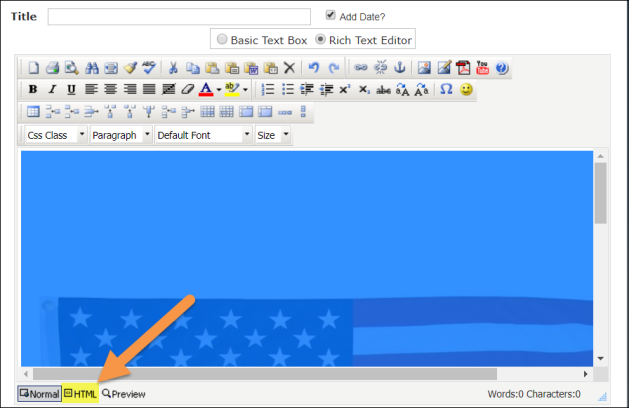
4. After inserting the image, click on the HTML button at the bottom of the editor:
5. Then search for the word "width" and change the width="640" to width="100%". If there’s also a style=”xxx”clause on the tag, delete that too. For example, it should be changed from:
<img src="/RecDeskPortal/Portals/95/RoundedCornerTesting.jpg" width="640" style="width: 640px;" alt="" border="0" />
to:
<img src="/RecDeskPortal/Portals/95/RoundedCornerTesting.jpg width="100%" alt="" border="0" />
You can change the width to any percentage of 100% or lower.